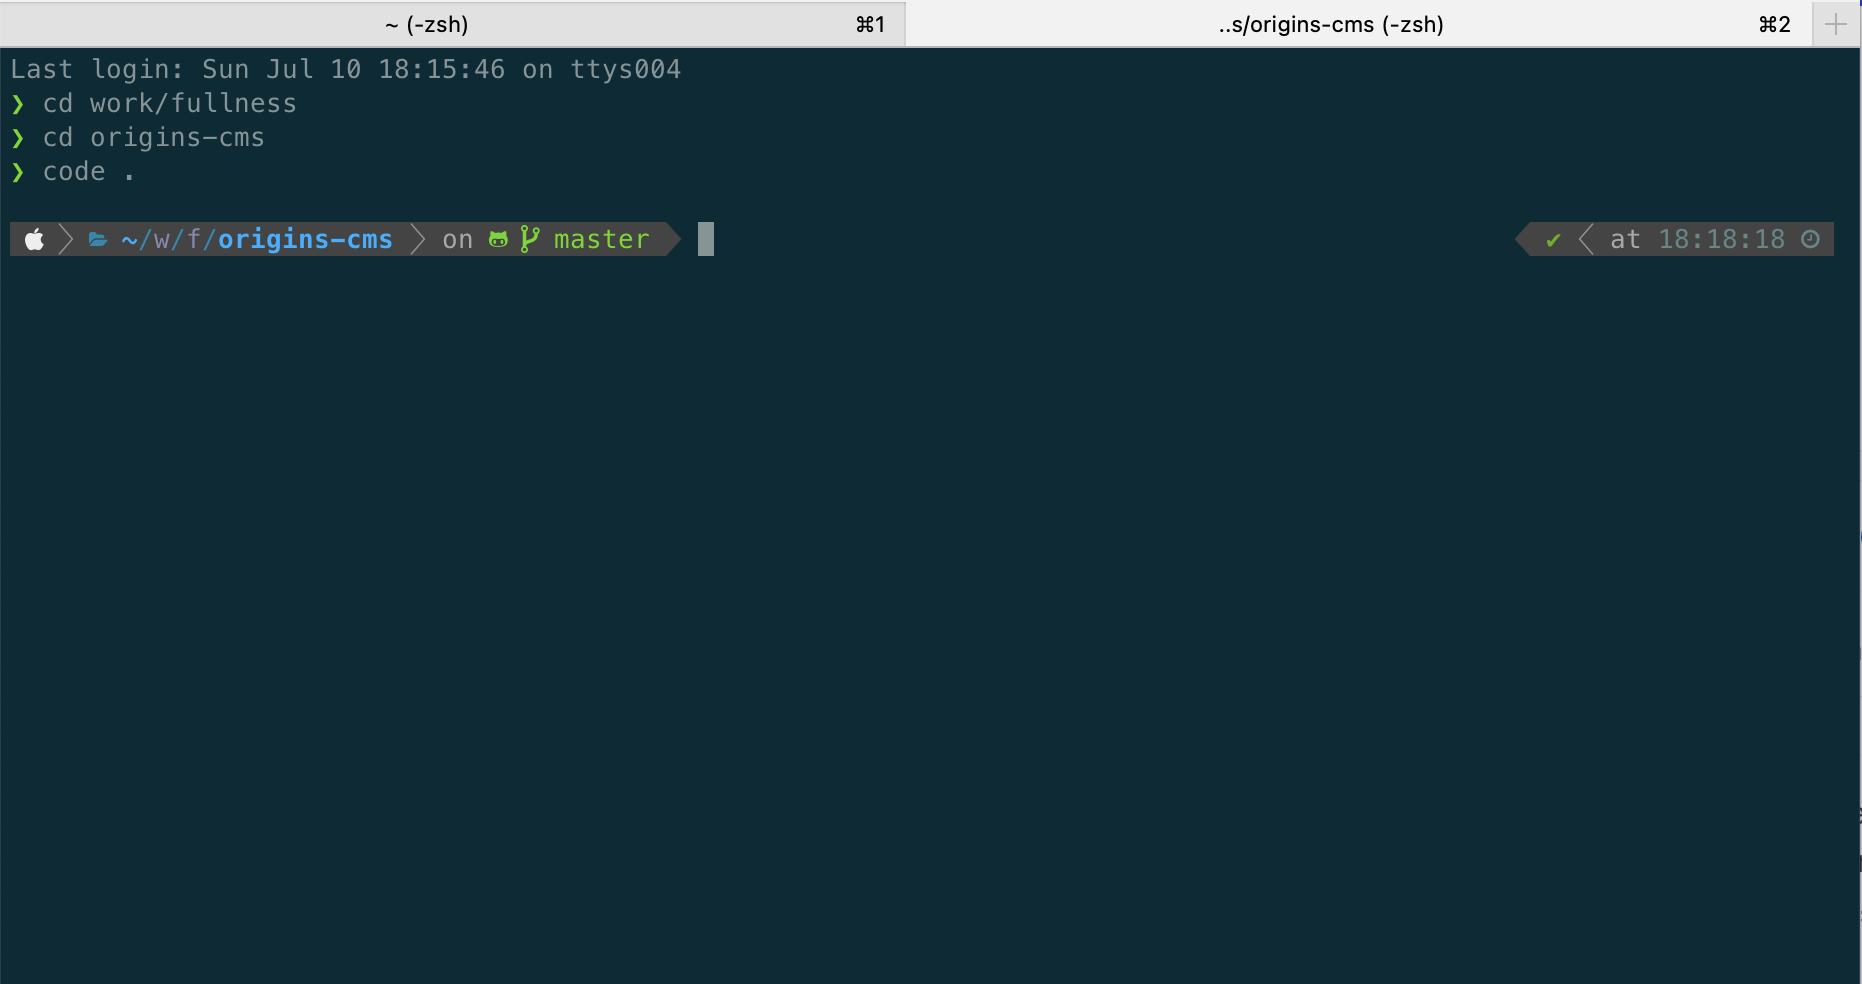
iTerm2 and ohmyzsh setup for macOS Monterey - 2022

Basics
- Download and install iTerm2
- Most of the versions of MacOS comes with zsh preinstalled, check if you it already
zsh --version
- If the above step fails, install `zsh`, check step 4 if you don't have brew installed and come back to this step.
brew install zsh- Follow the instructions from the output of the above command
- If you don't have
brewthen follow these steps to get brew installed first/bin/bash -c "$(curl -fsSLhttps://raw.githubusercontent.com/Homebrew/install/HEAD/install.sh)"- You mostly have to run these steps after brew install, please check the output of the above command as well, I am focusing on M1 Silicon chips,
echo 'eval "$(/opt/homebrew/bin/brew shellenv)"' >> /Users/mahendra/.zprofile
11  eval "$(/opt/homebrew/bin/brew shellenv)"
- Now install ohmyzsh
sh -c “$(curl -fsSLhttps://raw.github.com/ohmyzsh/ohmyzsh/master/tools/install.sh)"
Now comes the good stuff
Heads up we will be setting up most used Powerlevel10k theme
- Let's install the recommended font
- Meslo Nerd Font patched for Powerlevel10k, follow the instructions here.
- You can use any custom fonts out there if they contains all glyphs and symbols, otherwise you will miss out on some styles
- Install Powerlevel10k for Oh My Zsh
git clone --depth=1https://github.com/romkatv/powerlevel10k.git${ZSH_CUSTOM:-$HOME/.oh-my-zsh/custom}/themes/powerlevel10k- Edit the
.zshrcfile, set ZSH_THEME to following,ZSH_THEME="powerlevel10k/powerlevel10k"
- You can run,
source ~/.zshrcon your terminal to start configure powerlevel10k theme.- you can also call
p10k configurechange the look and feel
- you can also call
- Go to iTerm preferences > Profile > Colors to further change the colour profile, there are some default colour themes available. You can also download more presets from here https://iterm2colorschemes.com/ and load them.
Essentials
We will add some list of plugins that will help with some tools used daily to boost productivity. Please be mindful of how many plugins you add as more plugins means more time it takes to start the terminal. Pick and chose the right ones for your shell.
We will start with yarn, just add yarn to plugins section of .zshrc file,
plugins=(git yarn)Autojump - a faster way to navigate the filesystem
Directories must be visited first before they can be jumped to.
brew install autojumpGo through the output of the above command, you might have to add a line to your .zshrc file, the example below works for M series MacBooks only:
[ -f /opt/homebrew/etc/profile.d/autojump.sh ] && . /opt/homebrew/etc/profile.d/autojump.shAuto-suggestions while you type a command
Run the following command to clone th repository into $ZSH_CUSTOM/plugins(by default~/.oh-my-zsh/custom/plugins)
git clone https://github.com/zsh-users/zsh-autosuggestions ${ZSH_CUSTOM:-~/.oh-my-zsh/custom}/plugins/zsh-autosuggestionsAdd the plugin to the list of plugins for Oh My Zsh to load (inside~/.zshrc):
plugins=(
    # other plugins...
    zsh-autosuggestions
)
Syntax Highlighting
Run the following command to clone th repository into$ZSH_CUSTOM/plugins(by default~/.oh-my-zsh/custom/plugins)
git clone https://github.com/zsh-users/zsh-syntax-highlighting.git ${ZSH_CUSTOM:-~/.oh-my-zsh/custom}/plugins/zsh-syntax-highlighting